Guides
Violence District Survivor Guide: Key Items and How to Survive Chases
How to play survivors in Violence District: what generators and the exit gate are for, what each starter item does, and how to avoid common mistakes.
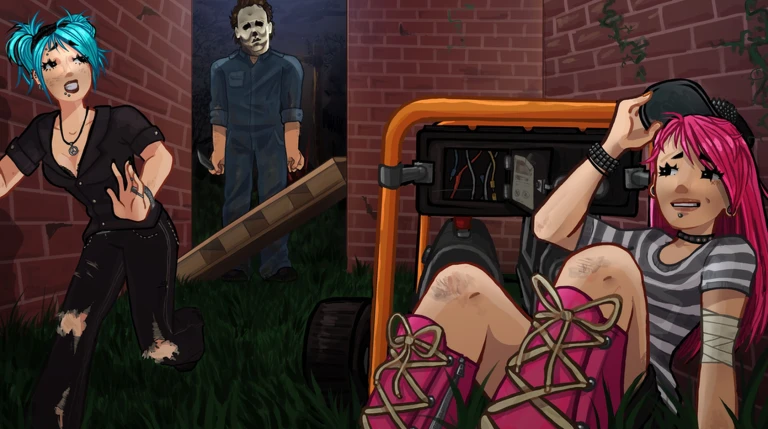
 Violence District 52.1K playing
Violence District is an asymmetrical horror game: one Killer hunts a team of survivors, who need to finish repairs and escape. This guide covers what the survivor side is trying to do, what the main items do, and the habits that help most when you are new. Information comes from the unofficial wiki on Fandom (CC BY-SA) and a Roonby guide from July 2025. Sources disagree on some numbers, so we note it where they do. Details are as of October 2026.
The goal of each side
The wiki says the Killer faces 5 survivors, the Killer wants to sacrifice every survivor, and survivors want to repair 5 generators and escape. Roonby, written in July 2025, says four survivors and sometimes six generators, so the numbers may have changed over time. Check what you see in your own match instead of counting on one figure.
How to play survivor well
Roonby's tips match what the item pages suggest:
- Spread out early. If the Killer finds the group, everyone is under pressure and no generators progress. Roonby suggests working on clusters of two or three nearby generators and learning each map's usual spots.
- Heal when it is safe. Roonby points out that uninjured survivors move faster, so healing a teammate is worth the time when the Killer is far away.
- Do not drop pallets early. Pallets are limited. Roonby advises dropping one only when the Killer is close enough to be stunned, and then vaulting away.
- Time your vaults. Vaulting too early or too late gives the Killer a free hit.
- Rescue carefully. Go for a teammate when the Killer is distracted, otherwise they get recaptured at once.
Key items and what they do
Items are chosen in your loadout and bought in the shop. The wiki lists eleven, including Twist of Fate, Bandage, Parrying Dagger, Adrenaline Shot, Flashlight, Motion Tracker, Gate, Shadow Clone, WaxBound Candle, Holy Water and Riot Shield. These are the ones with the clearest details:
- Flashlight: shining it on the Killer's face blinds them and makes them drop a survivor they are carrying. The wiki says blinding takes about 2 to 4 seconds depending on range, and calls this a Flashlight save. It can also make the Killer miss an attack.
- Motion Tracker: hold it to make it beep faster and at a higher pitch as the Killer gets closer, within a 250 radius. It is useful while repairing. The wiki advises turning it off once you have found the Killer, since using it gives the Killer a hint. It can also spot some stealth killers, such as The Slasher during Lake of Mist.
- Bandage: recovers two health states and takes 24 seconds for a full heal. The wiki says partial healing is kept until you are downed, so you can top up slowly during a chase.
- Gate: makes a one-way teleport point that lasts 7 seconds, has a 3 second windup in which you cannot run, and a 60 second cooldown. The Killer can walk through it too, so use it with care.
- Twist of Fate: a pistol with a 60 percent chance to fire and 40 percent chance to misfire. A hit stuns the Killer for 2 seconds, but a misfire costs you a health state. Treat it as a last resort.
Items and skins are bought with Screws or Emblems, which are in-game currencies. Skins with a price in other currency may cost real money, so ask a parent or guardian first.
Common beginner mistakes
- Running straight to a hook rescue while the Killer is still standing next to it.
- Leaving the Motion Tracker on all the time.
- Using Twist of Fate while injured. The wiki warns your team will have to save you.
- Looking for the "best" Killer before learning one properly.
Killer notes if you play the other side
The wiki lists eight Killers, such as The Slasher, The Stalker and The Hidden. One Killer, for example, has a Frenzy mode that lasts 13 seconds and boosts speed and tracking, then leaves the Killer tired for a short time if it ends badly. Learn one Killer's power and its downside before moving on.
Quick checklist
- Spread out and start repairs.
- Bring a Flashlight or Motion Tracker to begin with.
- Heal when safe.
- Save pallets for when the Killer is close.