Guides
100 Days At Sea beginner guide: build order, food, night and survivors
What to build first in 100 Days At Sea, how to keep food and metal coming, when to take in survivors, and which threats to prepare for before Day 99.
 100 Days At Sea 13.3K playing
This guide helps you set up a stable start in 100 Days At Sea: what to build first, how to keep yourself fed, when it is smart to take in survivors, and what you should prepare for as the days go on. The details come from guides written between June and August 2026, so some recipes and numbers may have changed since.
Your first raft
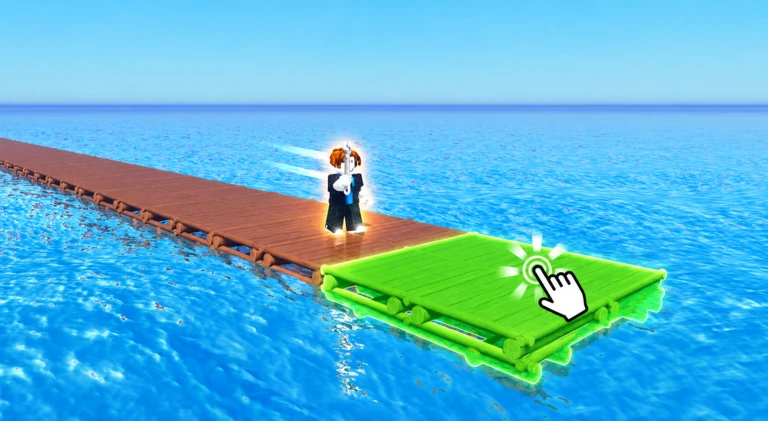
You begin on a beach. Collect the loose materials around you, such as wooden planks, metal scrap, benches and broken crates, and load them into the Grinder until its progress bar reaches 100 percent. That builds your first raft and gets the run going.
Open every crate you find, store your materials in the Old Sack, and hold Shift to sprint. Check your quests often, since they point you at useful goals and rescues.
Build order that works
One survival guide recommends building in this order:
- Crab Trap: makes food for you over time, so you do not need to hunt crabs on every island.
- Cooking Pot: cooked food restores health better than raw ingredients.
- Magnets: you can place two, and they run at no cost.
- Ammo Factory: uses 3 metal each time.
- Log Saw: keeps your wood stocked.
Another guide also names the Map Radar as an early priority, because it helps you find islands and rare resources. Radar towers unlock map locations, including the oil rig, the castle and the outpost.
Fix food first
Food decides how long a run lasts. The Crab Trap supplies ingredients, and the pizza oven is the big step up. The recipe costs 225 Coins from the Traveling Merchant. To unlock it you swim underwater near your rig to a glowing object and interact with it, then craft and place the oven. A quarter of a pizza fills your hunger bar almost completely, so a steady supply of pizza makes the rest of the run calmer.
When your health drops, fight crabs on islands for food. Companions such as the Seagull and the Crow also collect food nearby roughly every 120 seconds.
Survivors: wait until you are ready
Survivors are worth rescuing, but they eat your food and can set your automated factories burning through metal and wood. The advice is to wait until you have two Magnets running and a steady pizza supply. The exception is a daily quest rescue that is close to giving you a level, because levels unlock recipes.
Classes
Classes give permanent starting bonuses like more health, damage or speed, and you buy them with Pearls. As of June 2026 one site priced the cheapest at 40 Pearls (Sailor) and called Survivor, at 50 Pearls, the most forgiving first purchase. Check the in-game prices, because they may have changed.
Night and bigger threats
- Night: enemy activity rises and visibility drops. Stay near your raft, eat before health gets low, and prepare equipment before sunset.
- Angler fish: a Flare Gun from the Traveling Merchant distracts them.
- Night raids: they get harder over time, and late raiders carry Grenade Launchers.
- Kraken: the Auto Turret does not target Kraken arms, so you need your own ammo and guns.
- Cargo ship: you get a 25-minute timer and should plan on 15 to 20 minutes. Bring full health and hunger, pizza, at least 20 rounds of ammo and a machete or better.
- Day 99: a massive boss fight.
Around day 90, stop exploring far islands and stay close to your rig.
Common mistakes
- Exploring far from the raft at night.
- Taking in survivors before food is stable.
- Going into the cargo ship without ammo or healing.
- Relying on the Auto Turret against the Kraken.
- Playing solo when friends are available. Playing with others is the top tip from the beginner guides.
Codes
Codes give Pearls, which you can spend on classes. See the 100 Days At Sea codes page for the ones we have checked.